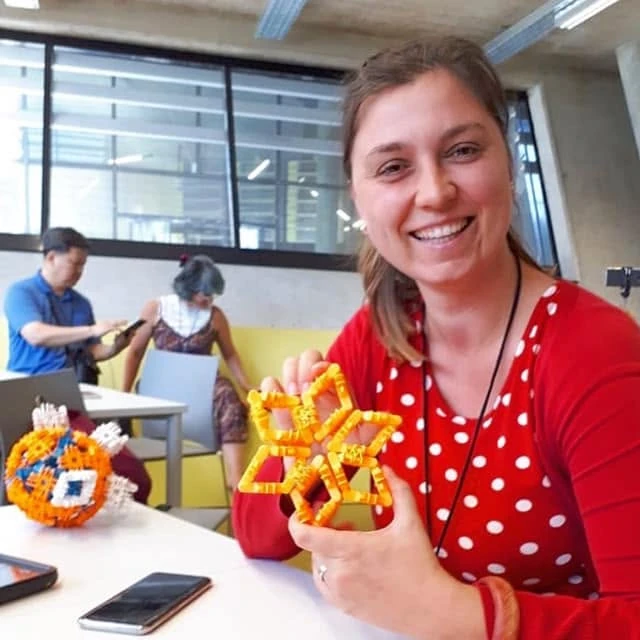


A smiling educator holds a yellow Lux Blox structure at a workshop table.
Exploring shape and connections at the workshop table.

From the classroom

Hear it from teachers.

Classroom experiences shared by educators using Lux Blox.

From a 25News report · Original interview and station credit retained.

A teacher’s perspective · 28 seconds

One build. Connections across subjects.

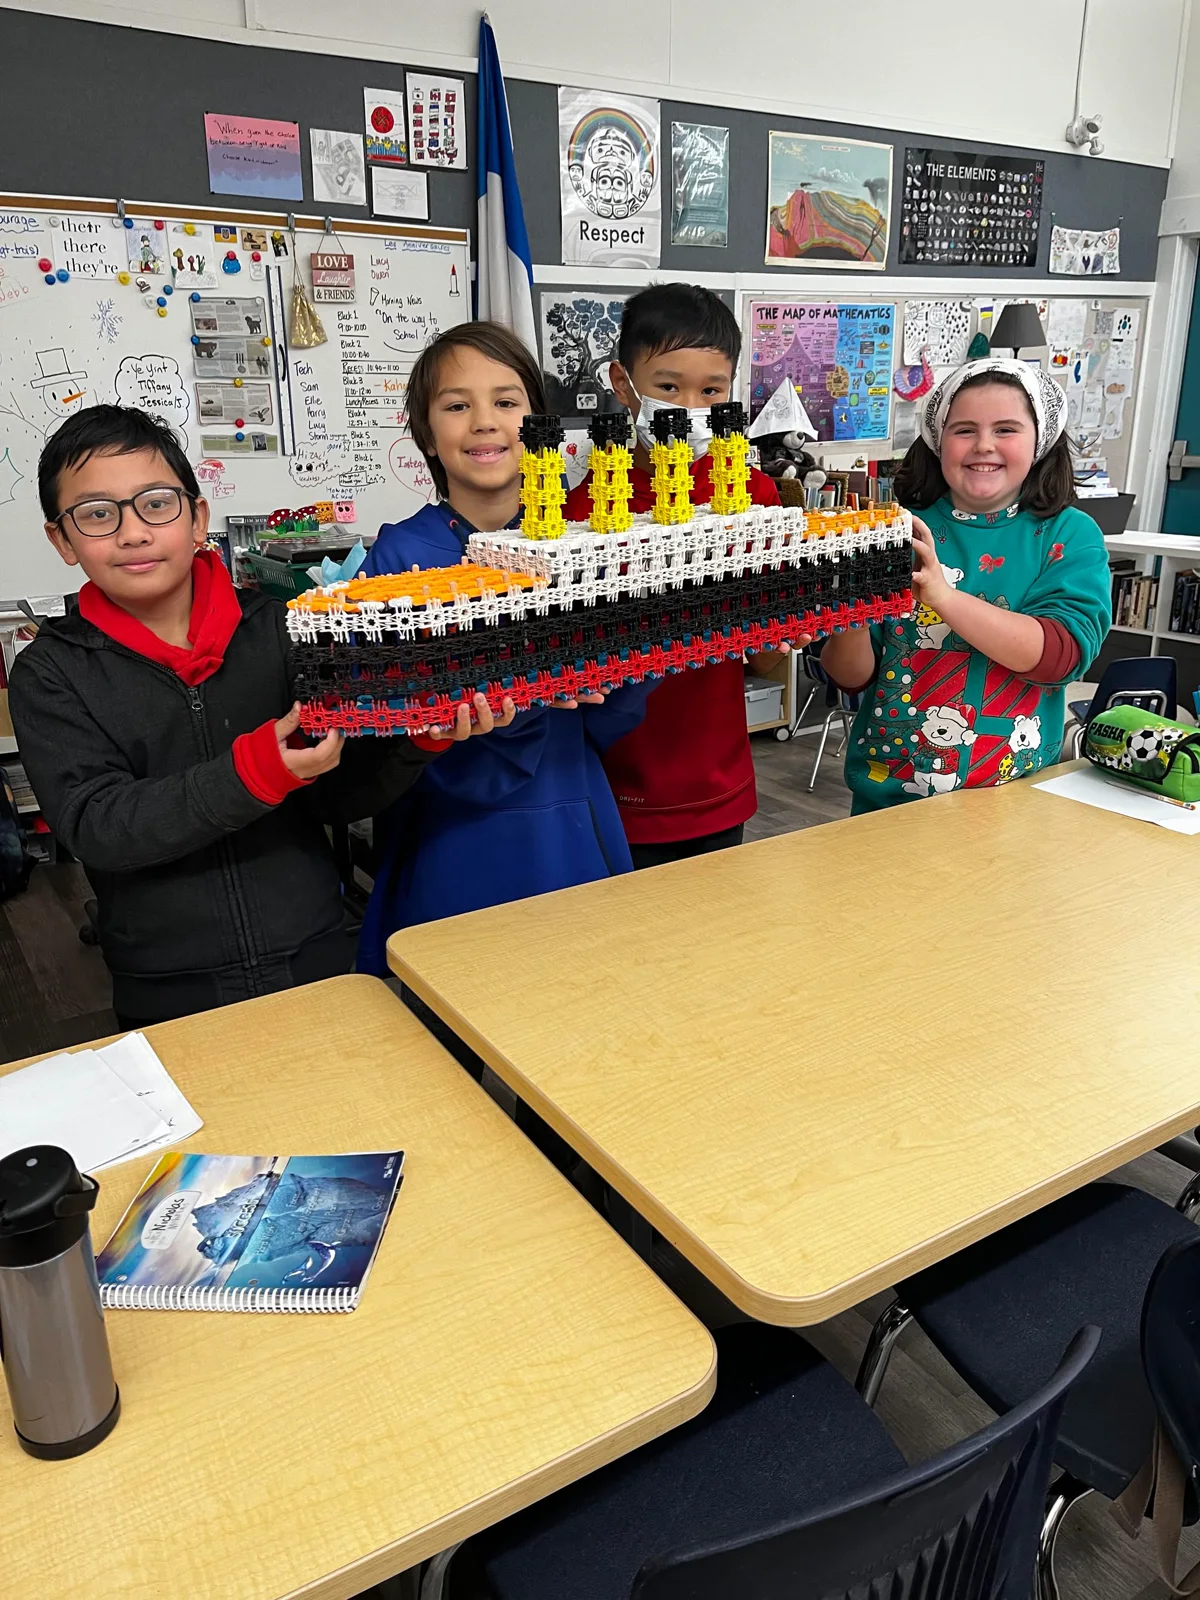
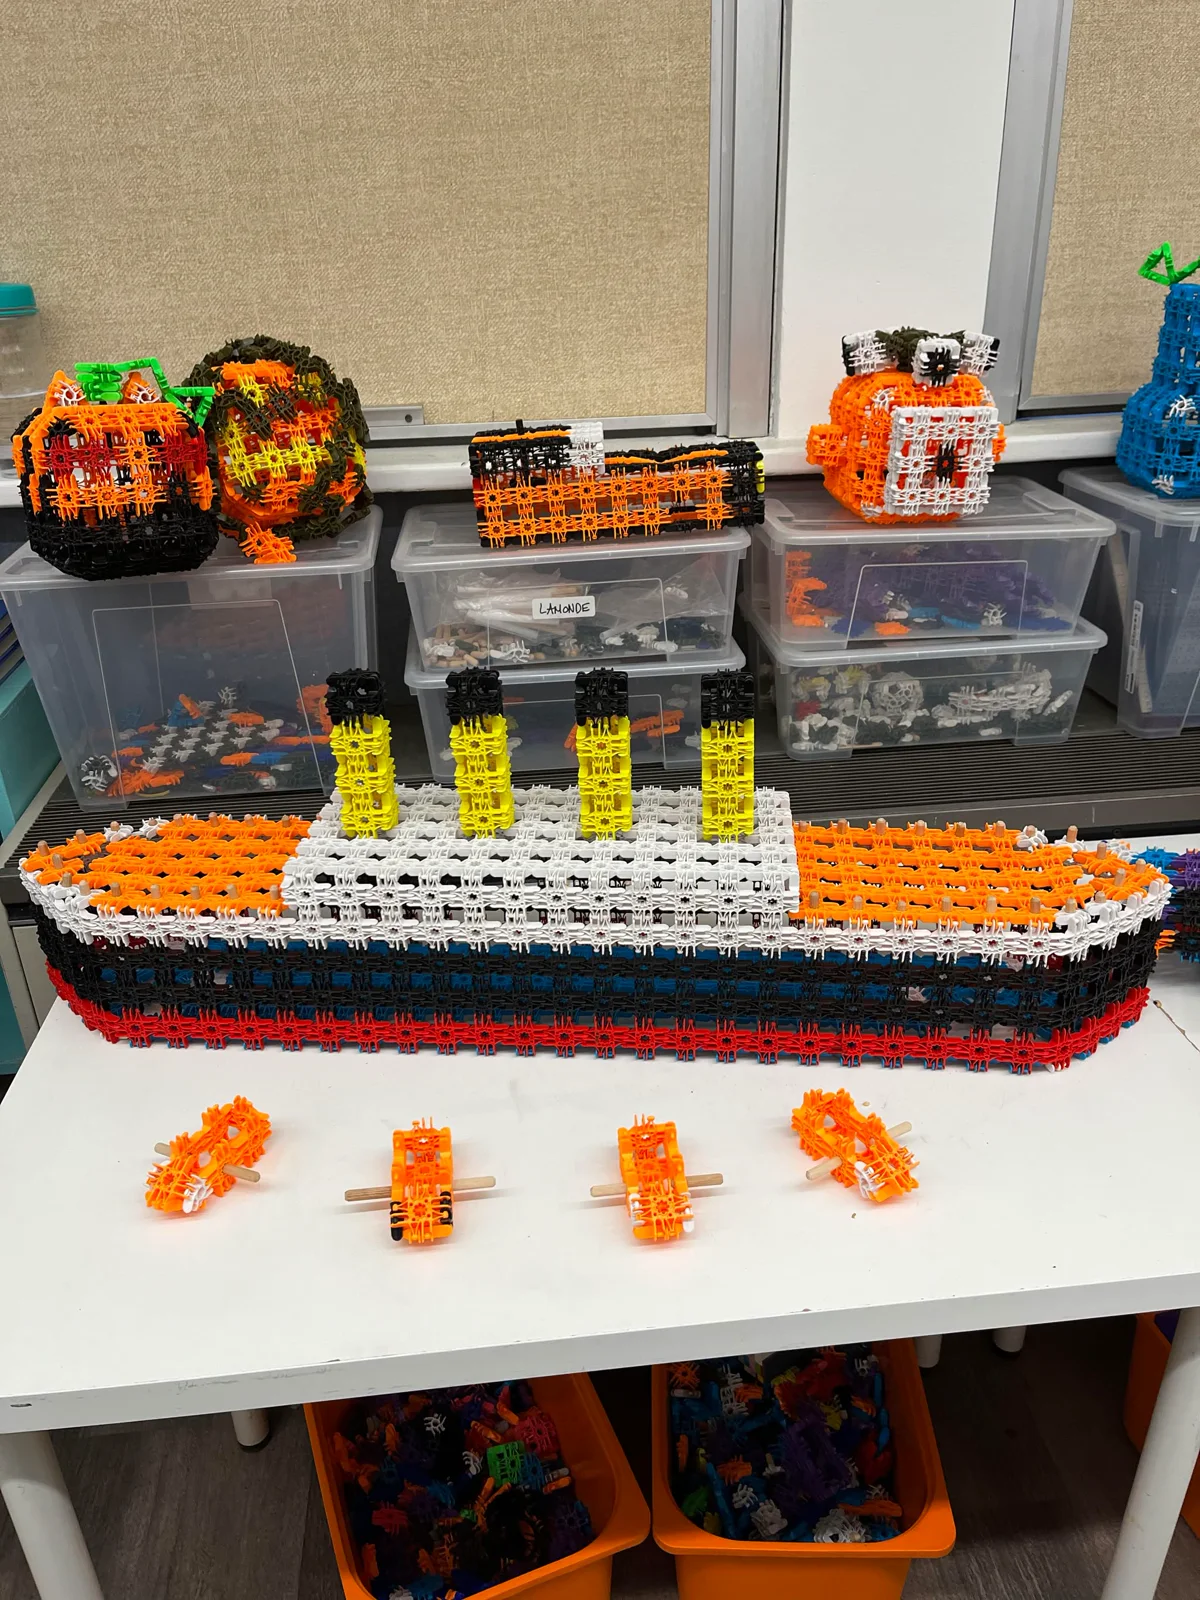
A Titanic build became an investigation in storytelling, geometry and fractions. Anne-Marie Lamonde describes how her students helped shape the project.

“They’re co-creators and co-builders with me.”

Anne-Marie LamondeSixth-grade teacher · Selkirk Elementary SchoolVancouver, British Columbia, Canada

Read the interview transcript

Anne-Marie Lamonde: It started off partly with their interest, partly with the storytelling. So there were some stories around the Titanic and that brings in the language arts and the narrative.

25News reporter: Lamonde says this project also let her integrate geometry and fractional math.

Anne-Marie Lamonde: The students feel that they are part of it all. They’re not just empty receptors of what the teacher has to say, but rather they’re co-creators and co-builders with me.

“Lux is a wonderful classroom tool.”

From towers and bridges to mathematical patterns, Sophia describes using her classroom sets across projects.

Sophia WoodSophia WoodHomeschool teacher · Salem, Oregon
“My students NEVER get tired of it.”

Julie describes children returning to Lux Blox during classroom choice time.

Julie HirshfieldJulie HirshfieldKindergarten teacher · New Mexico
“They create and write about their Lux Blox creations.”

Laurie brings building and writing together to complement her classroom curriculum.

Laurie PerryLaurie PerryTeacher · Harrison Street School, Geneva, Illinois

Short excerpts from Lux Blox’s published educator testimonials ↗.

Plan your first classroom experience

Same pieces. Different movement.

Compare two hinged forms, collect observations and explain how their connections affect movement. A starting example for grades 3–5, adaptable to your learners and the subject you already teach.

Planning estimate: 40–50 minutes. This sequence has not been timed in a classroom. Allow more time for connecting pieces, discussion or access needs.

Look at the openings from above · Explore the hinge geometry before building.

Four-panel loop

The side lengths stay the same as the hinge angles change.

Three-panel loop

Three fixed side lengths keep this closed triangle’s angles fixed.

Ideal hinge diagram, not a load test. Real panels flex and joints have play; record what your own models do.

Learning objective

Students will compare how a four-sided and a three-sided hinged form move under a gentle sideways push, then support an explanation with a labeled sketch and observations from both models.

Connections to teaching: describing shapes and angles, comparing observations, and writing an explanation from evidence.

Materials & preparation

  • Per group of 2–3: seven Lux Square pieces, paper and a pencil.
  • For the teacher: seven more squares for a demonstration, plus spare pieces and a flat table.
  • For 24 students in eight groups of three, plan 56 squares plus the teacher’s seven and spares.

No wheels, axles or digital device are needed for this example.

Before students begin

Try both models first. Connect four squares edge-to-edge in a strip and close it into an open-ended square tube; make a second tube with three squares and a triangular opening. Keep the hinge axes parallel. Match each male connector with its female connector and check that every join is seated.

Demonstrate a gentle push without bending the panels or pulling a joint apart. Stop if a connection releases. Students can direct a partner’s building, describe observations aloud or use labeled drawings. Share the building, testing and recording roles.

Teach the sequence

  1. Predict

    Show the two tubes from above. Ask: “Which opening will change shape more easily when we push a corner sideways? What makes you think so?” Students draw and label a prediction before testing.

  2. Build

    Groups make the four-square and three-square tubes. Check the closed loops and parallel hinges together. Ask students to count the sides of each opening and identify where rotation can happen.

  3. Observe & compare

    Stand each tube on the same table. Steady one side and gently push an upper corner sideways, trying a similar push on each. Repeat and swap roles. Sketch the openings before and after; record which angles change and whether a join comes loose.

  4. Explain

    Ask: “What changed? What stayed the same? How did the hinges and the closed shape affect movement?” Use the frame: “We observed ___. Our evidence is ___. We think this happened because ___.” Discuss observations that differ between groups.

  5. Transfer

    Show or sketch a rectangular gate with a diagonal brace. Students predict how the brace might affect sideways movement, mark the triangles it creates and explain what they would compare in a test. A sketch is enough; a new build is optional.

Teacher guidance

Look for the four-sided opening changing angles as the hinges rotate. An ideal closed triangle with fixed side lengths cannot change its angles in the same way. Real pieces flex and joints have play: invite students to report those limits.

Ask “What did your test show?” before giving the shape a label. A hand push is a qualitative comparison, not a measurement of load capacity. This activity does not establish that every triangular structure is stronger than every rectangular one.

Collect an explanation

Each student submits a before-and-after sketch, one comparison supported by observations, and the gate-brace prediction with a proposed test. Accept a recorded or spoken explanation where appropriate.

Use the illustrative response and simple formative rubric to choose a follow-up question. Revisit the prediction after discussion.

Professional development with Mike Acerra

Put your classroom kits to work.

Support your Lux Blox purchase with live training that helps staff bring building, observation and explanation into the subjects they already teach.

Live virtual staff training

Meet with Mike remotely for a live session with your staff, with time to explore classroom use and ask questions.

In-person staff sessions

Work with Mike in person to explore the materials and plan how to use them with your learners.

District implementation

Plan multiple training sessions alongside a district purchase, helping staff introduce the materials and develop their classroom use over time.

Request a training quote

Training is quoted separately from classroom kits. We agree the session format, number of sessions, staff needs, scheduling and cost with your school before commitment.

For students, too

Meet the ideas behind the builds.

Mike also offers speaking presentations for students, live online or in person. Ask about a presentation for your class, school or district.

Ask about student presentations

A pilot planned with your school

A classroom pilot starts with a conversation. Before your school commits, we agree the scope and duration, materials, staff support, cost and how the experience will be evaluated.

Submitting an enquiry does not commit your school to a purchase or set pilot terms. Materials and support are specified in the agreed plan; no free materials or fixed duration are promised.

What you get in the classroom

Make a prediction

Record an initial idea before testing a model.

Build and observe

Change one feature and compare what happens under the same conditions.

Explain the evidence

Connect visible shape and connections to the behavior you observed.

Discuss and try again

Use sample answer explanations to guide a conversation and another test.

Discuss a Classroom Pilot

Tell us about your learners and subject. We will agree the plan, support and cost with your school before commitment.